It’s hard to believe that it’s been so long since I last posted, but I’m back with this post about adding texture to photographs. The idea of adding texture to photographs has been an interest of mine for years. Over time I’ve taken several online classes both on how to make and on how to apply textures.
One of these classes was offered by Kim Klassen and I thoroughly enjoyed the class! Kim is a very talented photographer and artist. Happily, Kim is back with Texture Tuesday 2.0 this week. In her post she introduces a set of lovely mono grunge textures, and also a set of light and shadow overlays for download. In addition, she shares three videos with instructions on how to use the textures and the overlays. I urge everyone who is interested in textures to visit her website and download these assets!
Of course I wanted to experiment and play with the new textures. I opened up a still life photo from Unsplash to work with in Adobe Photoshop Creative Cloud. The process that I followed is described below.
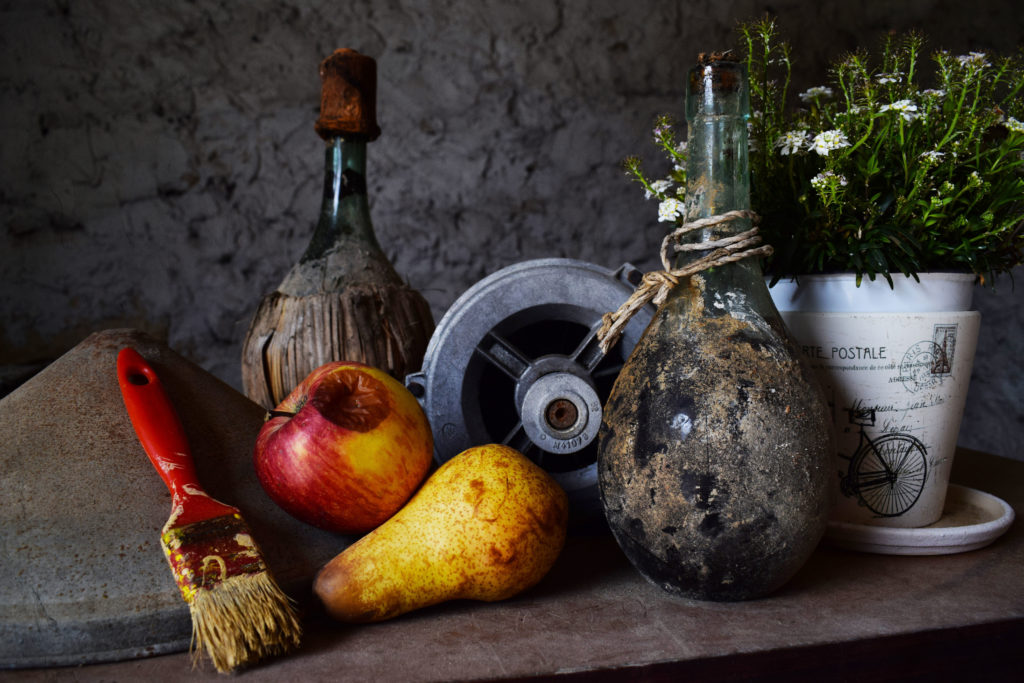
Here is the unedited photo:

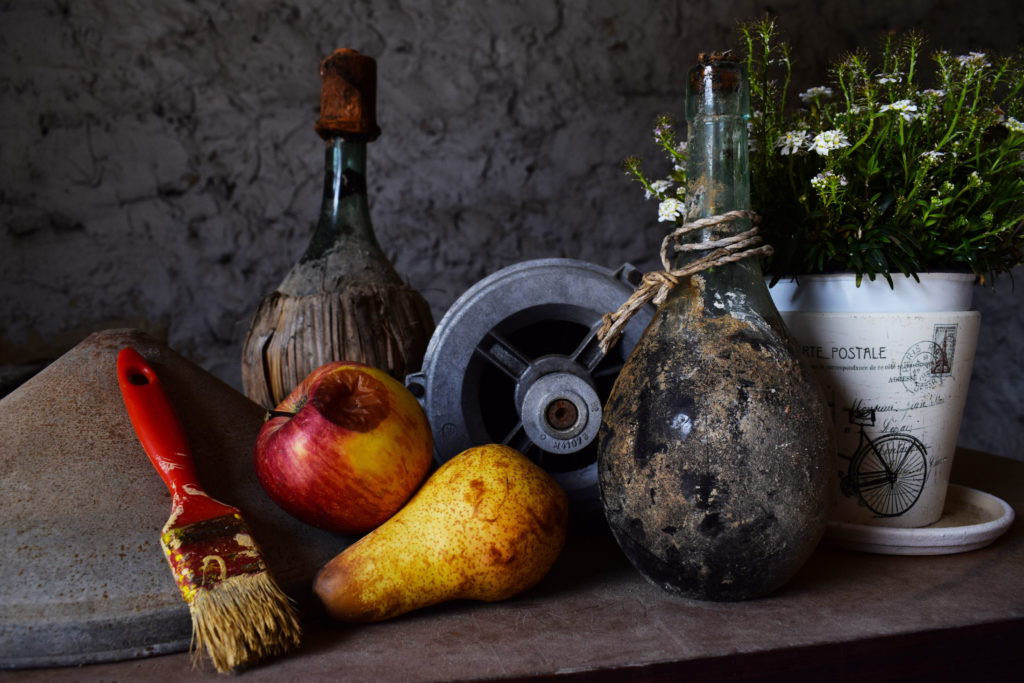
As you can see, the image is rather dark but shows a fair amount of texture already. I decided to apply the 5.together texture from the collection and set the blend mode to Overlay. Also I lowered the opacity of the layer to 85%. Then I added a layer mask and painted over the white flower pot (on the right) so that it wasn’t too bright and distracting.

The effects of the applied texture are subtle, but the result is to brighten the objects in the photo and to bring out and enhance the various textures in the image.
It was a lot of fun to do and I look forward to playing more with the other textures!
