Not long ago I was looking at some of my favorite artistic sites for inspiration. I came across examples of a technique which creates an effect on a photograph that makes it look like it is partly a drawing (or illustration or sketch). This technique seems to be popular for use in digital scrapbook and art journal layouts, however it could also be used for other purposes like creating lovely fine art prints to hang on your wall. While colorful travel photos work great with this technique, portraits or other types of photos could be used as well.
I found myself fascinated by the look and wanted to try it out for myself on one of my own photographs. For this example I followed the tutorial from FrenchKissTextures.com (link below). It covers the same process that is described in the Oscraps.com tutorial (link below), however it also covers a few variations which offer more control than the Find Edges filter that is most typically used to create the drawing effect.
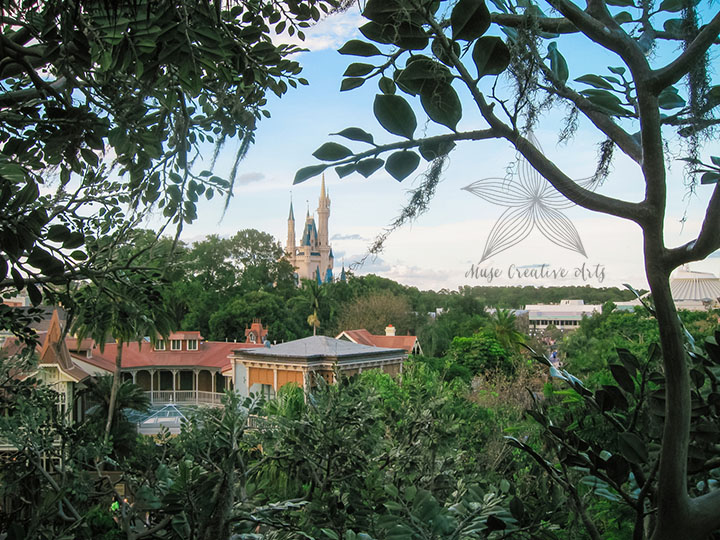
Here is the photo that I decided to work with.
Before:

The steps listed below are intended to give a general idea of how to create the desired effect. The tutorials that I link to below go into much more detail than I do here. Please follow the tutorials if you want to give the technique a try. A basic working knowledge of Photoshop is assumed. Links to the resources (texures, brushes) that I used are listed in the Credits section at the bottom of this post.
Steps (basic process)
- Post processing of the original photo in Adobe Lightroom. The image needed to be brightened up a bit, and to have the colors and detail brought out more. The “Before” image above is the result of the clean edit process.
- Opened the photo in Photoshop CC. Followed the tutorial and opted to use the Find Edges filter to create the black and white sketch effect (it’s the most simple option).
- Added masks to both the black and white and color photo layers as instructed, and painted on the masks using the water color brushes. Please refer to the tutorial for specific instructions on how to do this!
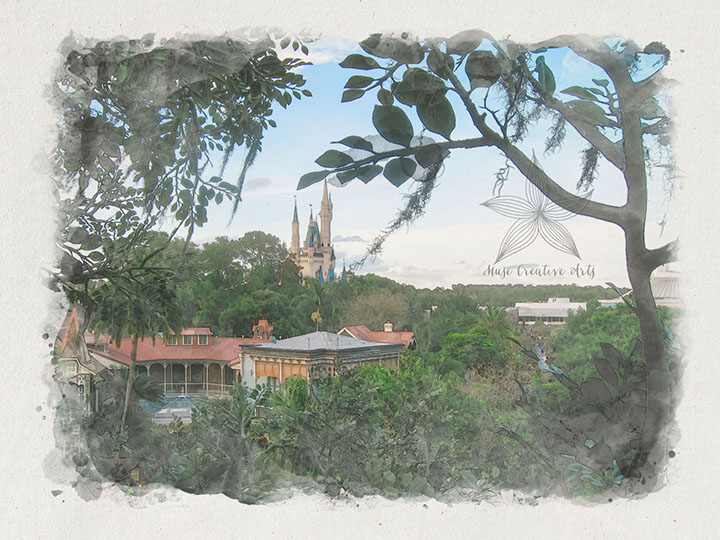
- The end result is shown as the “After” image below. I am very pleased with how it came out!
After:

Links to tutorials:
- Part Photo, Part Sketch Tutorial at Oscraps.com
- Creating A Photo Illustration Effect With Watercolor Brushes at FrenchKissTextures.com
Credits:
- My own photo taken at Disney World
- Free paper texture by Arno Kathollnig
- Water Stains brushes from Obsidian Dawn

Love it! It’s great to that you provide insight and guidance.
Thanks Jan!